Best Tents for Backpacking in North Carolina (And How to Actually Stay Dry)
The other day, I picked up two backpackers off the Art Loeb Trail near Black Balsam Knob. They'd planned for mild weather, nothing too serious. But by midday, it was in the 50s, windy, and they were soaking wet, not just their clothes, but everything inside their packs.
That's Western North Carolina for you. You can have a flawless trip: perfect weather, the right campsite, good water nearby, and you hike out the next day thinking backpacking is the greatest thing in the world. Or you get the other version. And given the terrain here, you can hit both versions on the same mountain, in the same day.
The moisture here is one of the greatest factors to consider when choosing the best tent for backpacking in North Carolina. Even with fully waterproof gear, the air is just wet. It can soak through your tent, through your rain jacket, through your pack, and eventually may find your sleeping bag. Here are a few tips for these mountains that help me have a more enjoyable experience. But remember, discomfort is also part of the experience, so embrace it!
Before We Talk Tents
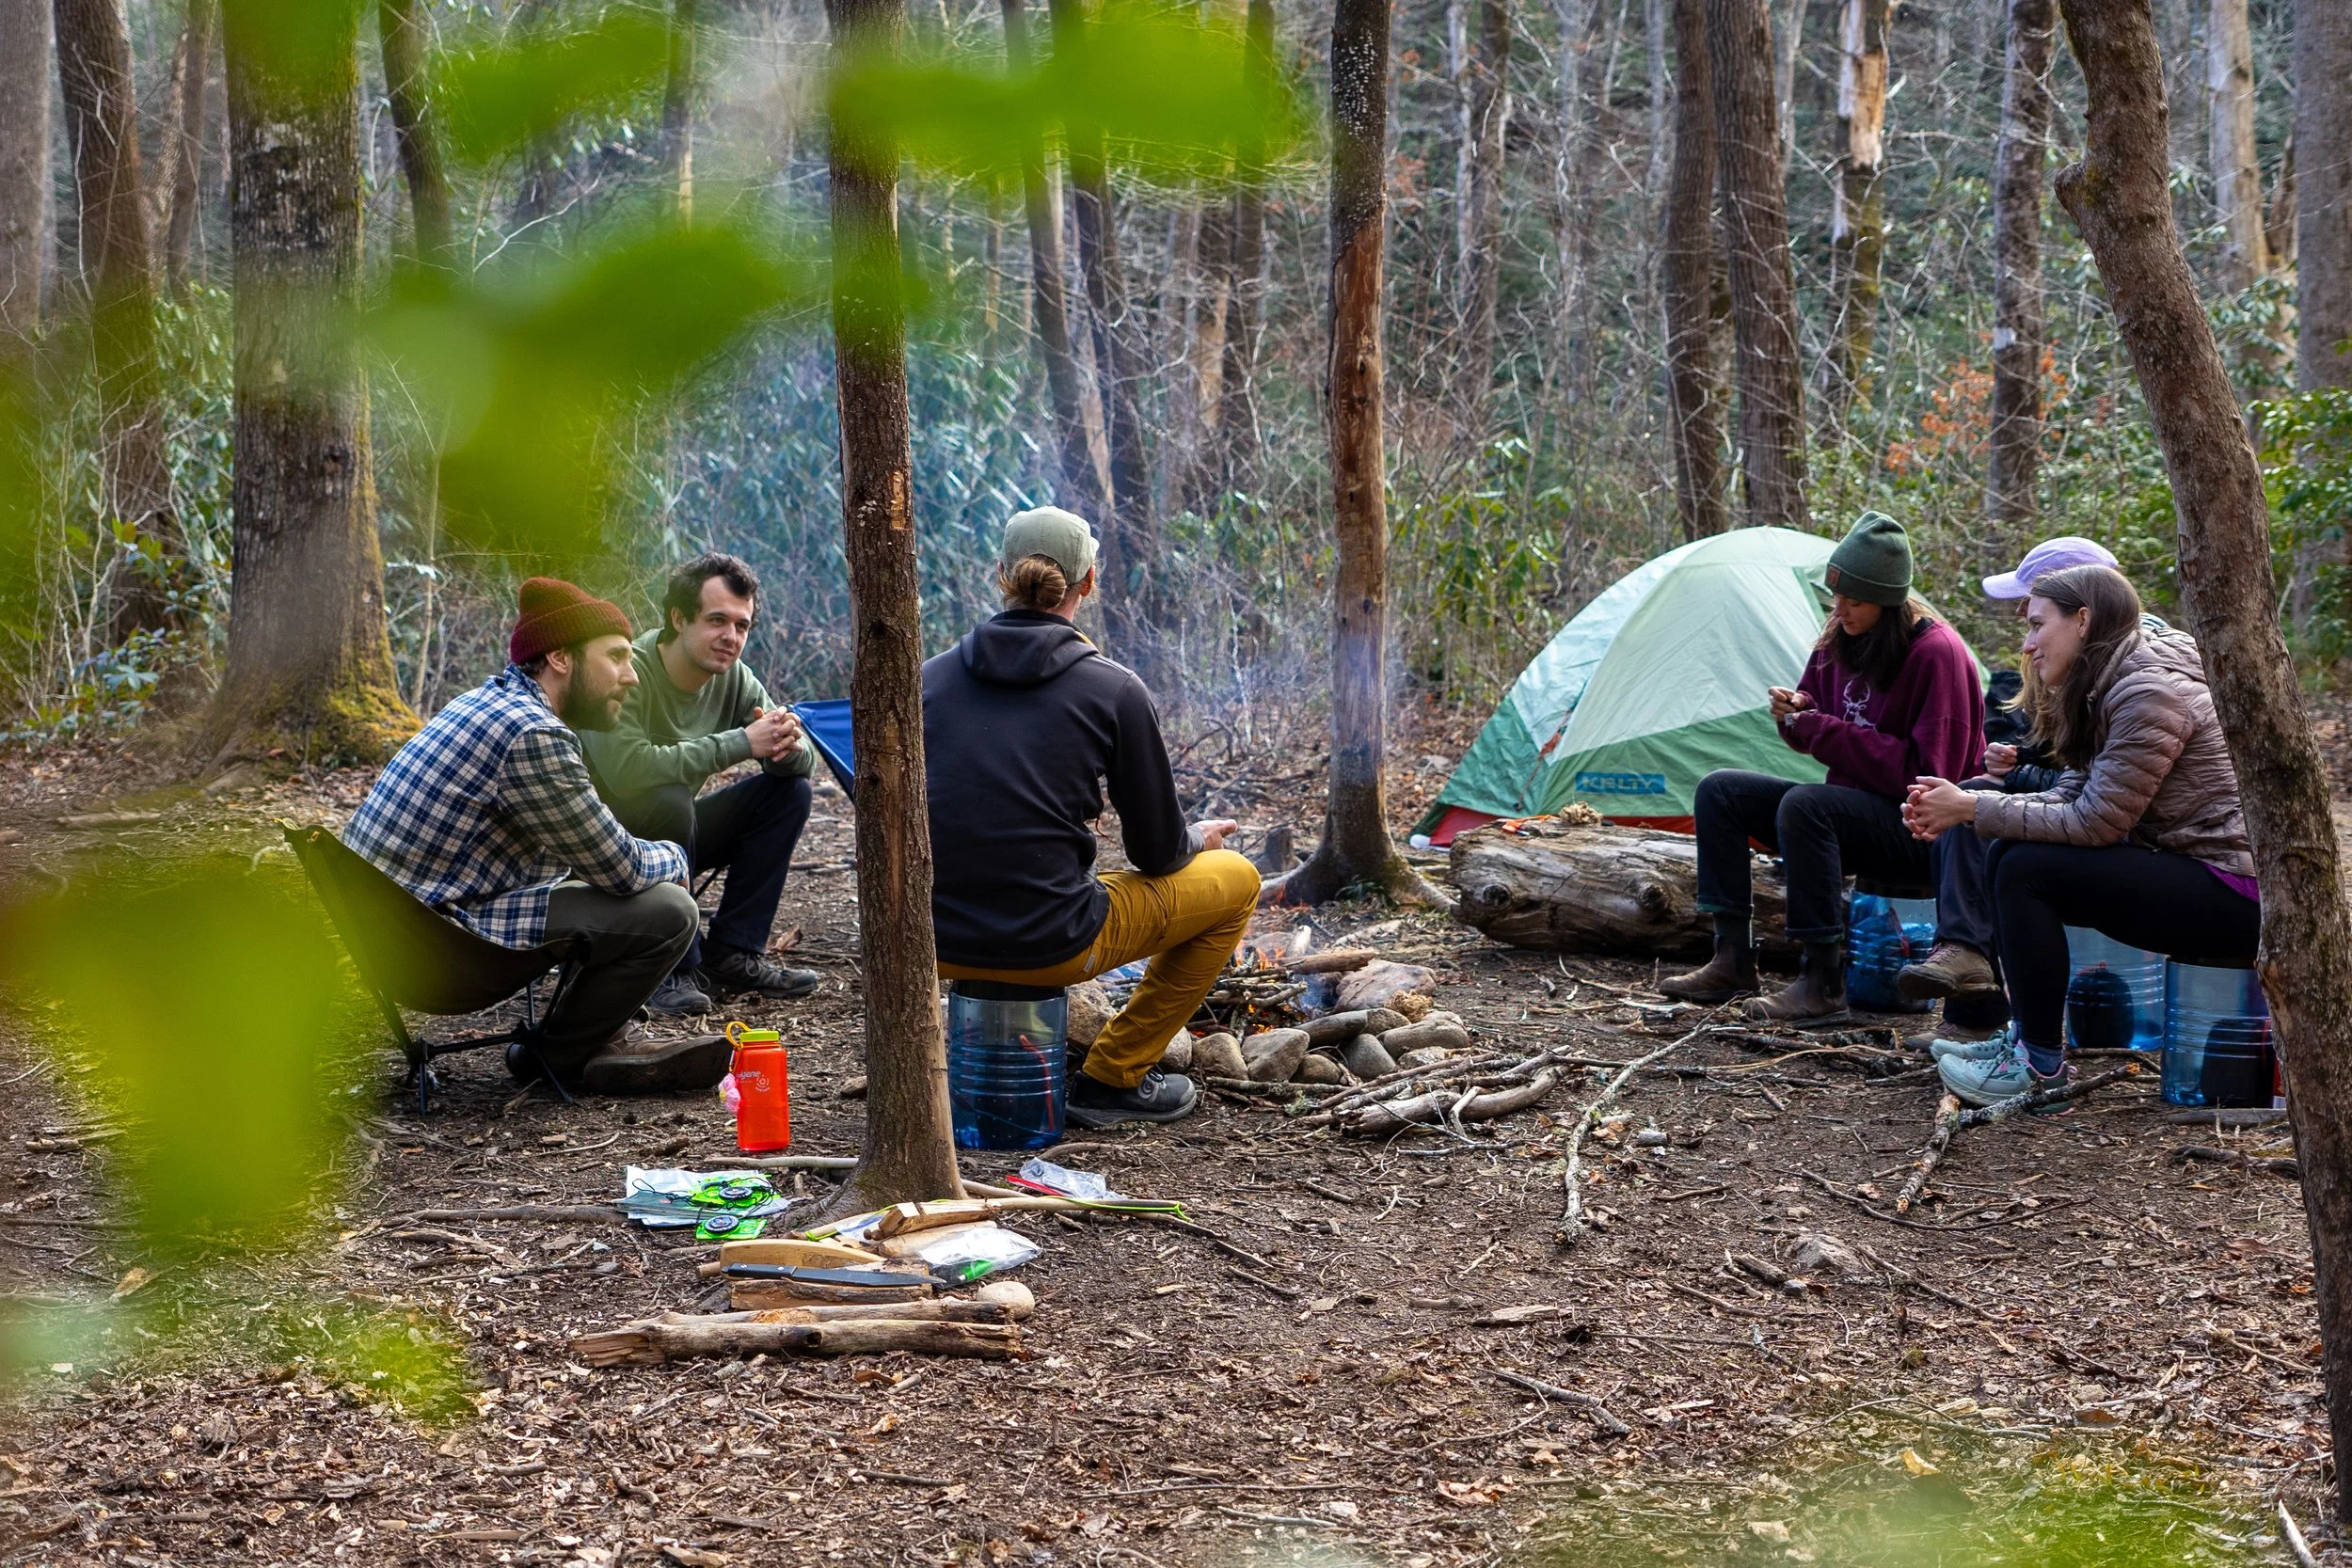
Most importantly, there is not one perfect tent you should buy. You can have a $500 tent and still wake up in a puddle if you don't know how to use it properly. Knowing how to use your gear matters more than owning good gear.
Pack Like It's Going to Rain
We like to advise people to pack with a pack liner. Stuff a large trash compactor bag inside your empty pack before you load anything (they're thicker and more durable than regular trash bags). Then pack everything inside that. If your pack came with a rain cover, use that too. A soaked pack can actually add a couple pounds of water weight, so that rain fly cover is a great resource to bring out on the trail.
Your sleeping bag is one of the most important things to pack with intention. Put it in a waterproof dry sack, then inside the pack liner, then inside the pack. If it's a down bag, this is non-negotiable. Down tends to lose its insulation when it gets wet, and modern treated down helps, but dry is still better than treated-and-wet.
Throw a couple of quart-size Ziploc bags in your hip belt pocket or jacket. Your phone, headlamp batteries, and anything electronic will be better off in a bag than a pocket.
Pick Your Campsite
In established campsites, you'll notice the prettiest, flattest, leaf-free spots right in the middle of camp, and people typically go straight for those. Something we have noticed is that those spots are usually the first to turn into a puddle when rain comes. It's flat because the rain has washed everything off it for years.
Instead, look at the edges of the campsite where there's a little bit of duff on the ground, a slight grade, and some natural drainage. That's your spot! It may not be perfectly dry, but you won't wake up in a puddle.
Pitch Your Tent
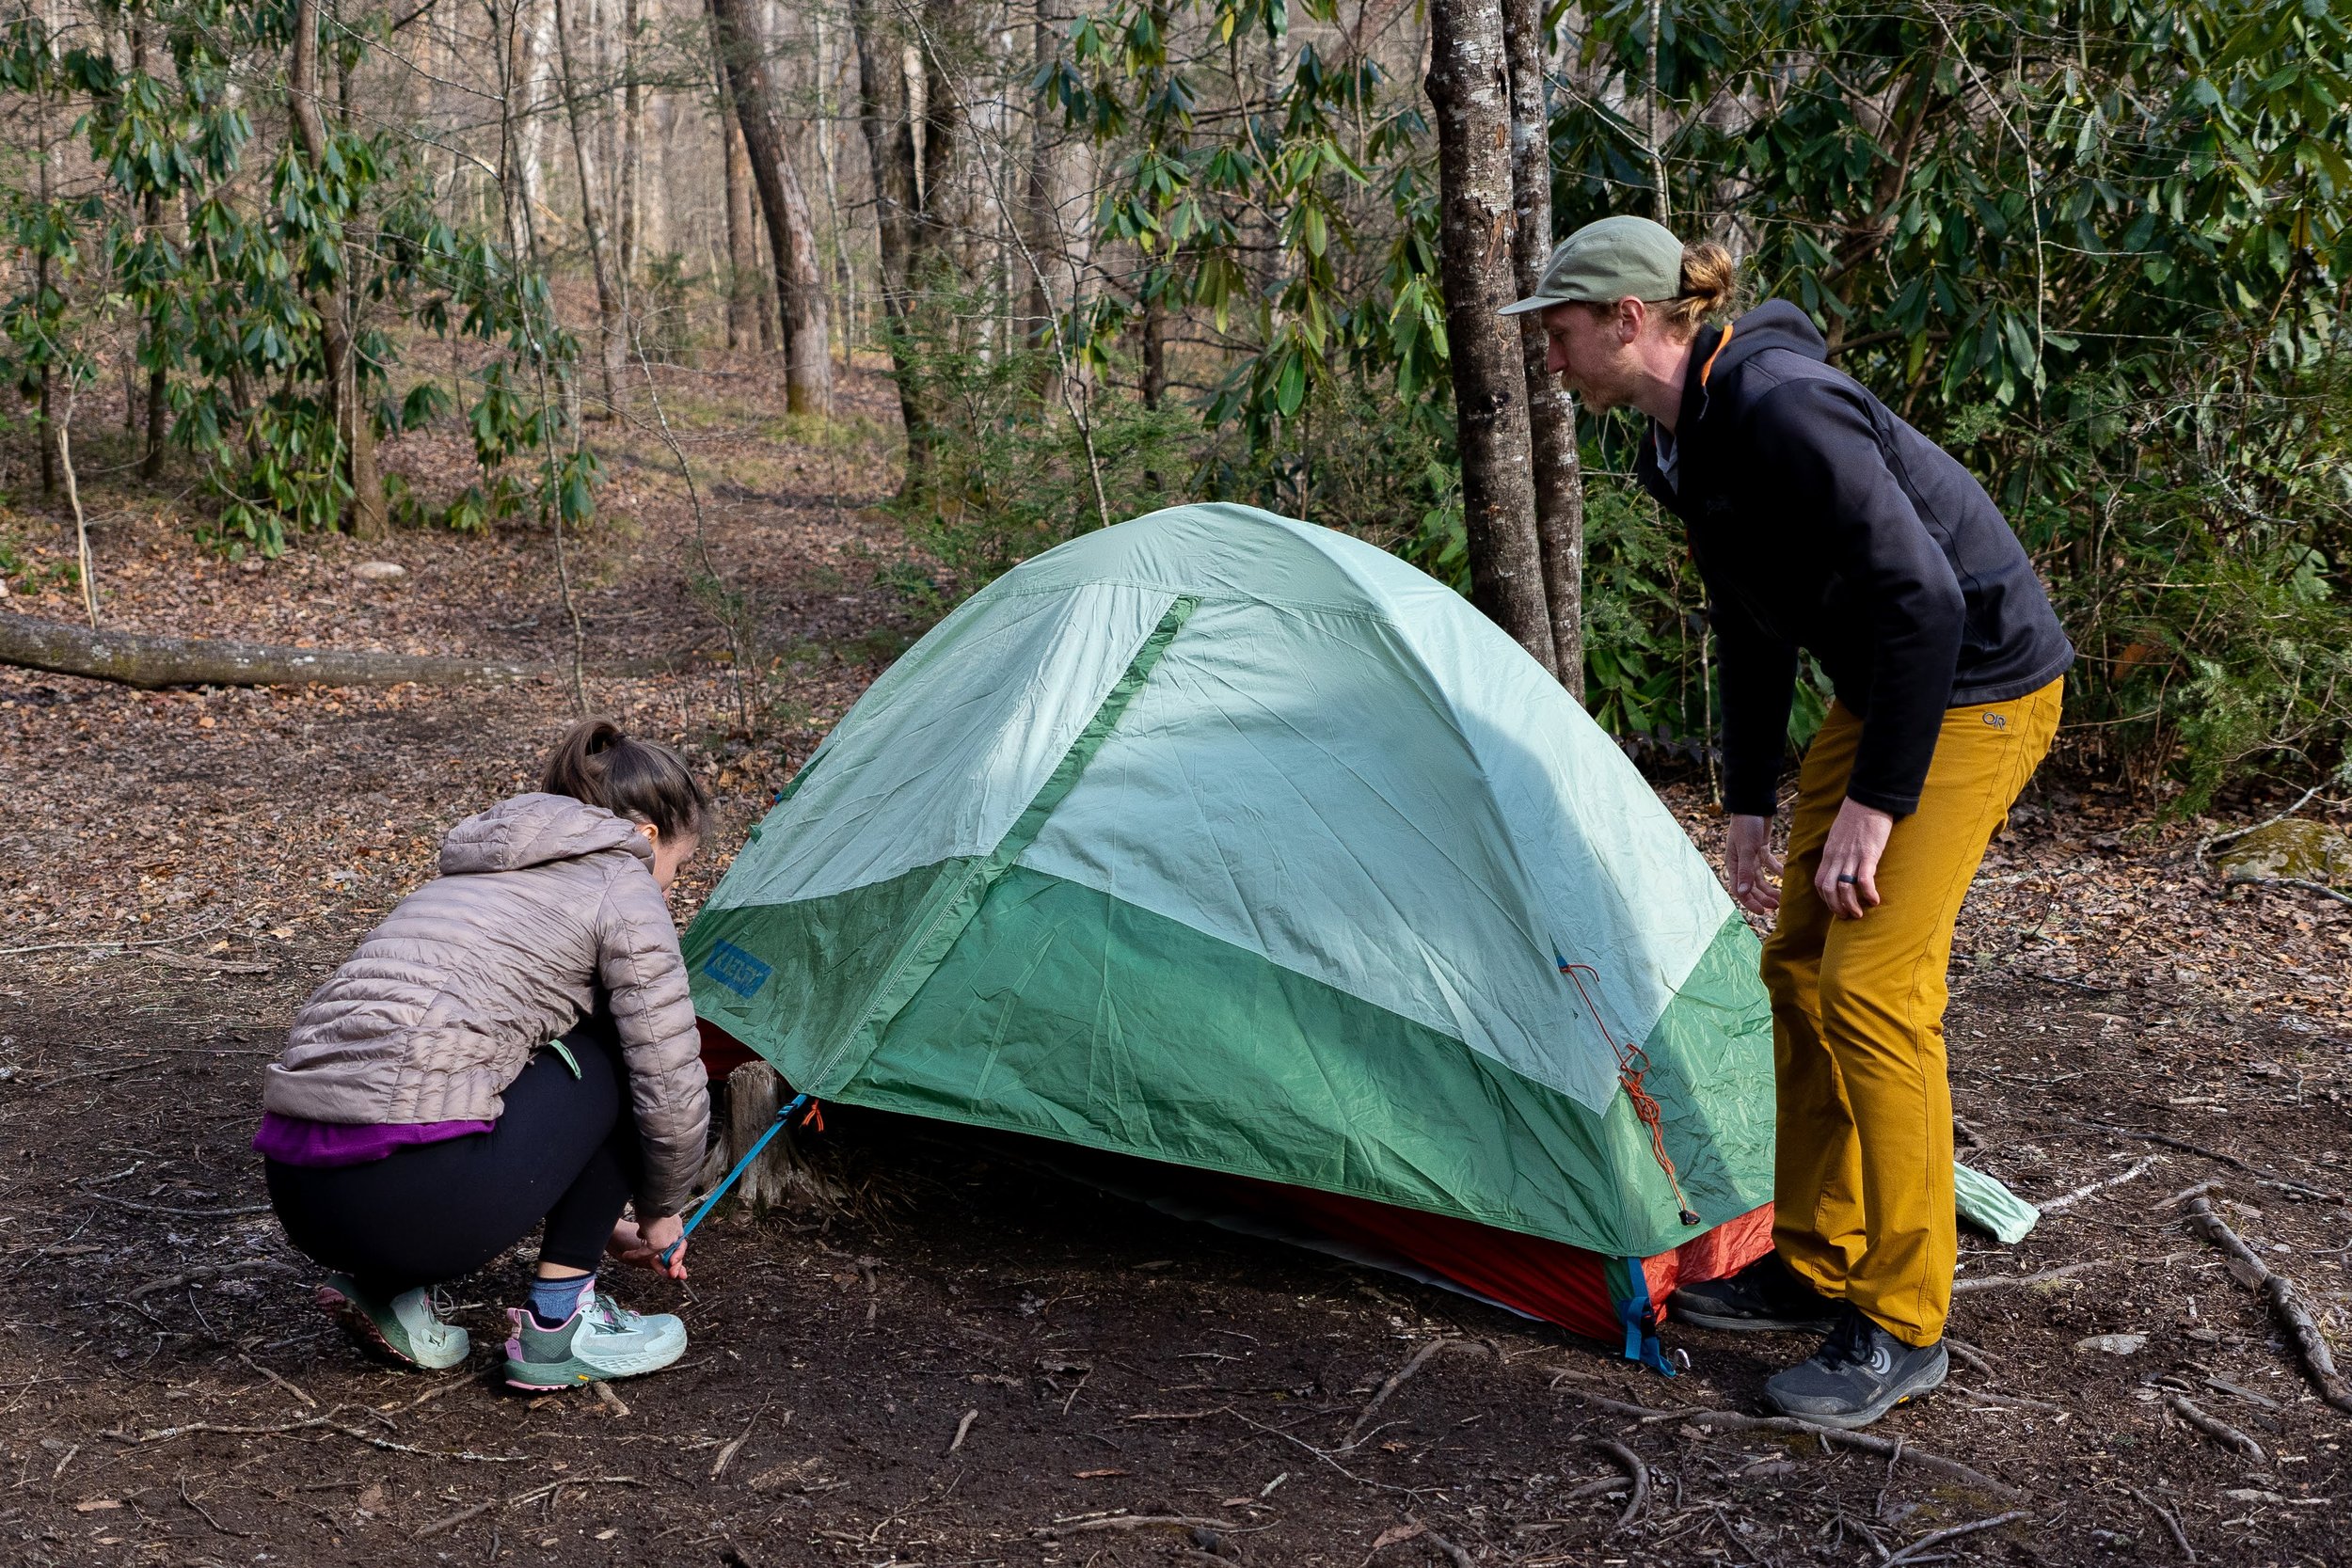
Double-wall tents have a mesh inner body with a rainfly over the top. That is what most of us use here, and they work really well when set up correctly. The critical part: stake that rainfly out so there are a few inches of separation between the fly and the mesh body. If they're touching, that creates a drip point. Condensation builds on the inside of the fly, touches the mesh, and drips onto you and your gear all night.
Set your tent up in your backyard before your trip. It sounds obvious, and most people don't do it.
How to Choose the Best Tent for Backpacking in North Carolina
When to Choose a 3-Season vs. a 4-Season
Four-season tents are built for winter and have more nylon in the tent body, less mesh, designed to hold heat and handle heavy snow loads. They're great if you're camping above treeline in January, dealing with temps in the single digits on exposed ridges.
For spring, summer, and fall? A four-season may be miserable. Not enough airflow, too much condensation, and you'll cook inside it on any warm night. Unless you're committed to winter backpacking, a four-season tent is also going to have you needing two tents to cover the whole year. If you're a gear nerd, sure, collect them all. If you're just getting started, get a solid three-season.
Freestanding vs. Non-Freestanding
Freestanding tents have poles that hold the tent up on their own so you don't have to stake them to stand. Non-freestanding shelters need to be staked and poled out, or they collapse. Both work fine anywhere in Western North Carolina. This ultimately comes down to preference!
Some backpackers (especially those who've been at it a while) go with a flat tarp and a bivy sack. Lighter to carry, more minimal, but maybe a little more work to set up well. I've slept in downpours under a flat tarp in a bivy and stayed dry all night. But it takes practice, and site selection is even more critical. For beginners, a freestanding three-season tent is going to give you the most wiggle room.
Use a Footprint
A footprint goes between the bottom of your tent and the ground. If you buy a tent-specific footprint from the manufacturer, it'll fit perfectly. A lot of backpackers use Tyvek instead, which is the waterproof material wrapped around house frames during construction, and it's cheaper and lighter. You can order it by the roll and cut it to size.
The key: cut it smaller than your tent floor, not the same size. If the footprint sticks out past the tent walls, rain runs down the side of the tent onto the footprint and channels underneath. Everything on the floor of your tent gets wet. The tent body needs to fully cover the footprint.
Seam Sealing: What to Know Before You Buy
Most big-name tents (REI, Big Agnes, North Face) come seam-sealed from the factory, ready to use out of the box. Some ultralight brands don't seal the seams themselves — they ship you the tent and a tube of seam sealer and expect you to do it. It's not hard, but it takes time and you need dry conditions for it to cure.
If this is your first tent, just buy one that's already sealed. Don't add manufacturing steps to your gear setup.
Budget vs. Quality: What Actually Matters
Paria Outdoor Products makes solid budget backpacking gear at a decent weight, not ultralight, but accessible pricing compared to the big names. They are worth checking out if you're trying to keep costs down starting out.
That said, expensive gear is generally expensive for a reason. Better materials, better durability, real warranty support. A $500–600 tent used well can last a decade. But again, knowing how to properly use your gear is way more important than the price tag.
Buy for your actual needs, not your aspirational ones. If you're going to be a fair-weather camper and cancel when the forecast looks rough, you don't need to spec out your gear for a January ridgeline. Get good enough gear for what you're actually going to do with it, and upgrade as your trips get more serious.
The Honest Answer on the "Best" Tent for Backpacking in North Carolina
The best tent for backpacking in North Carolina is the one you know how to use. Set it up before you go, and know where the stake points are. Practice pitching the rainfly taut, and think through where you want to pitch the tent before it gets dark.
That matters more than any spec comparison I could give you.
A Quick Note on Sleep Systems
Since your shelter is only one piece of staying warm and dry overnight, a few words on sleep systems.
Down vs. Synthetic Sleeping Bags
Down packs smaller and insulates better for the weight. The downside is it loses insulation when wet, though treated down (common in higher-end bags) helps with this. Synthetic insulation stays warmer when wet, but it's heavier and bulkier. For Western NC, down is fine if you're keeping it dry (see: pack liner, dry sack). Synthetic adds a margin of error.
Quilts vs. Mummy Bags
A lot of backpackers have moved to quilts that snap and zip to form a sleep system or open flat, and they save some weight. Enlightened Equipment is one of the more popular brands. Mummy bags still work great and are more familiar to most people starting out.
Sleeping Bag Temperature Ratings: Read These Carefully
When a bag says "20 degree," that often means the survival rating, not the comfort rating. You might technically not die at 20°F, but you'll be miserable. If you want to sleep comfortably at 20 degrees, buy a 10-degree bag. Give yourself 10–15 degrees of buffer below the coldest night you expect. Women's bags are also rated and insulated differently and run heavier because they have more insulation, which matters if cold sleeping is a real concern.
Sleeping Pads
R-value measures how much heat the pad reflects back to your body. If you're summer camping only, a basic foam pad or entry-level inflatable will do. If you're pushing into shoulder seasons or winter, R-value matters — look for higher ratings, or combine a foam pad under an inflatable for added insulation from the ground. The Therm-a-Rest NeoAir XLite NXT is what we use and what most of our guides rely on. Pricey, but the warranty is real, and the pads hold up.
Clothing: Leave the Cotton at Home
Cotton kills in the backcountry. When cotton gets wet from sweat, rain, or creek crossings, it doesn't dry. In a humid southeastern forest, it might not dry for your entire trip. And wet cotton doesn't insulate. Fifty-degree temps with wind and wet cotton clothing is a hypothermia situation waiting to happen.
Most hypothermia cases in Western North Carolina actually happen in the summer. People hike in shorts and a t-shirt, gain elevation, hit wind and rain, and have nothing to put on.
What to Wear Instead
Merino wool is soft, comfortable against the skin, and insulates even when wet. Synthetic base layers (polyester) are the more common and budget-friendly option — they dry fast and don't hold odor quite as well as wool, but they work great. Either one is fine!
Layer System
Base layer — long-sleeve shirt and bottoms, or thermal top and bottoms
Mid layer — down or synthetic puffy, fleece, or both
Hard shell — rain jacket and rain pants
That rain jacket is pulling double duty. It's not only for rain, but it's also a wind barrier. We wear rain gear on dry days in the winter. It's part of the warmth system, not just the wet-weather kit.
Bear Canisters and Food Storage
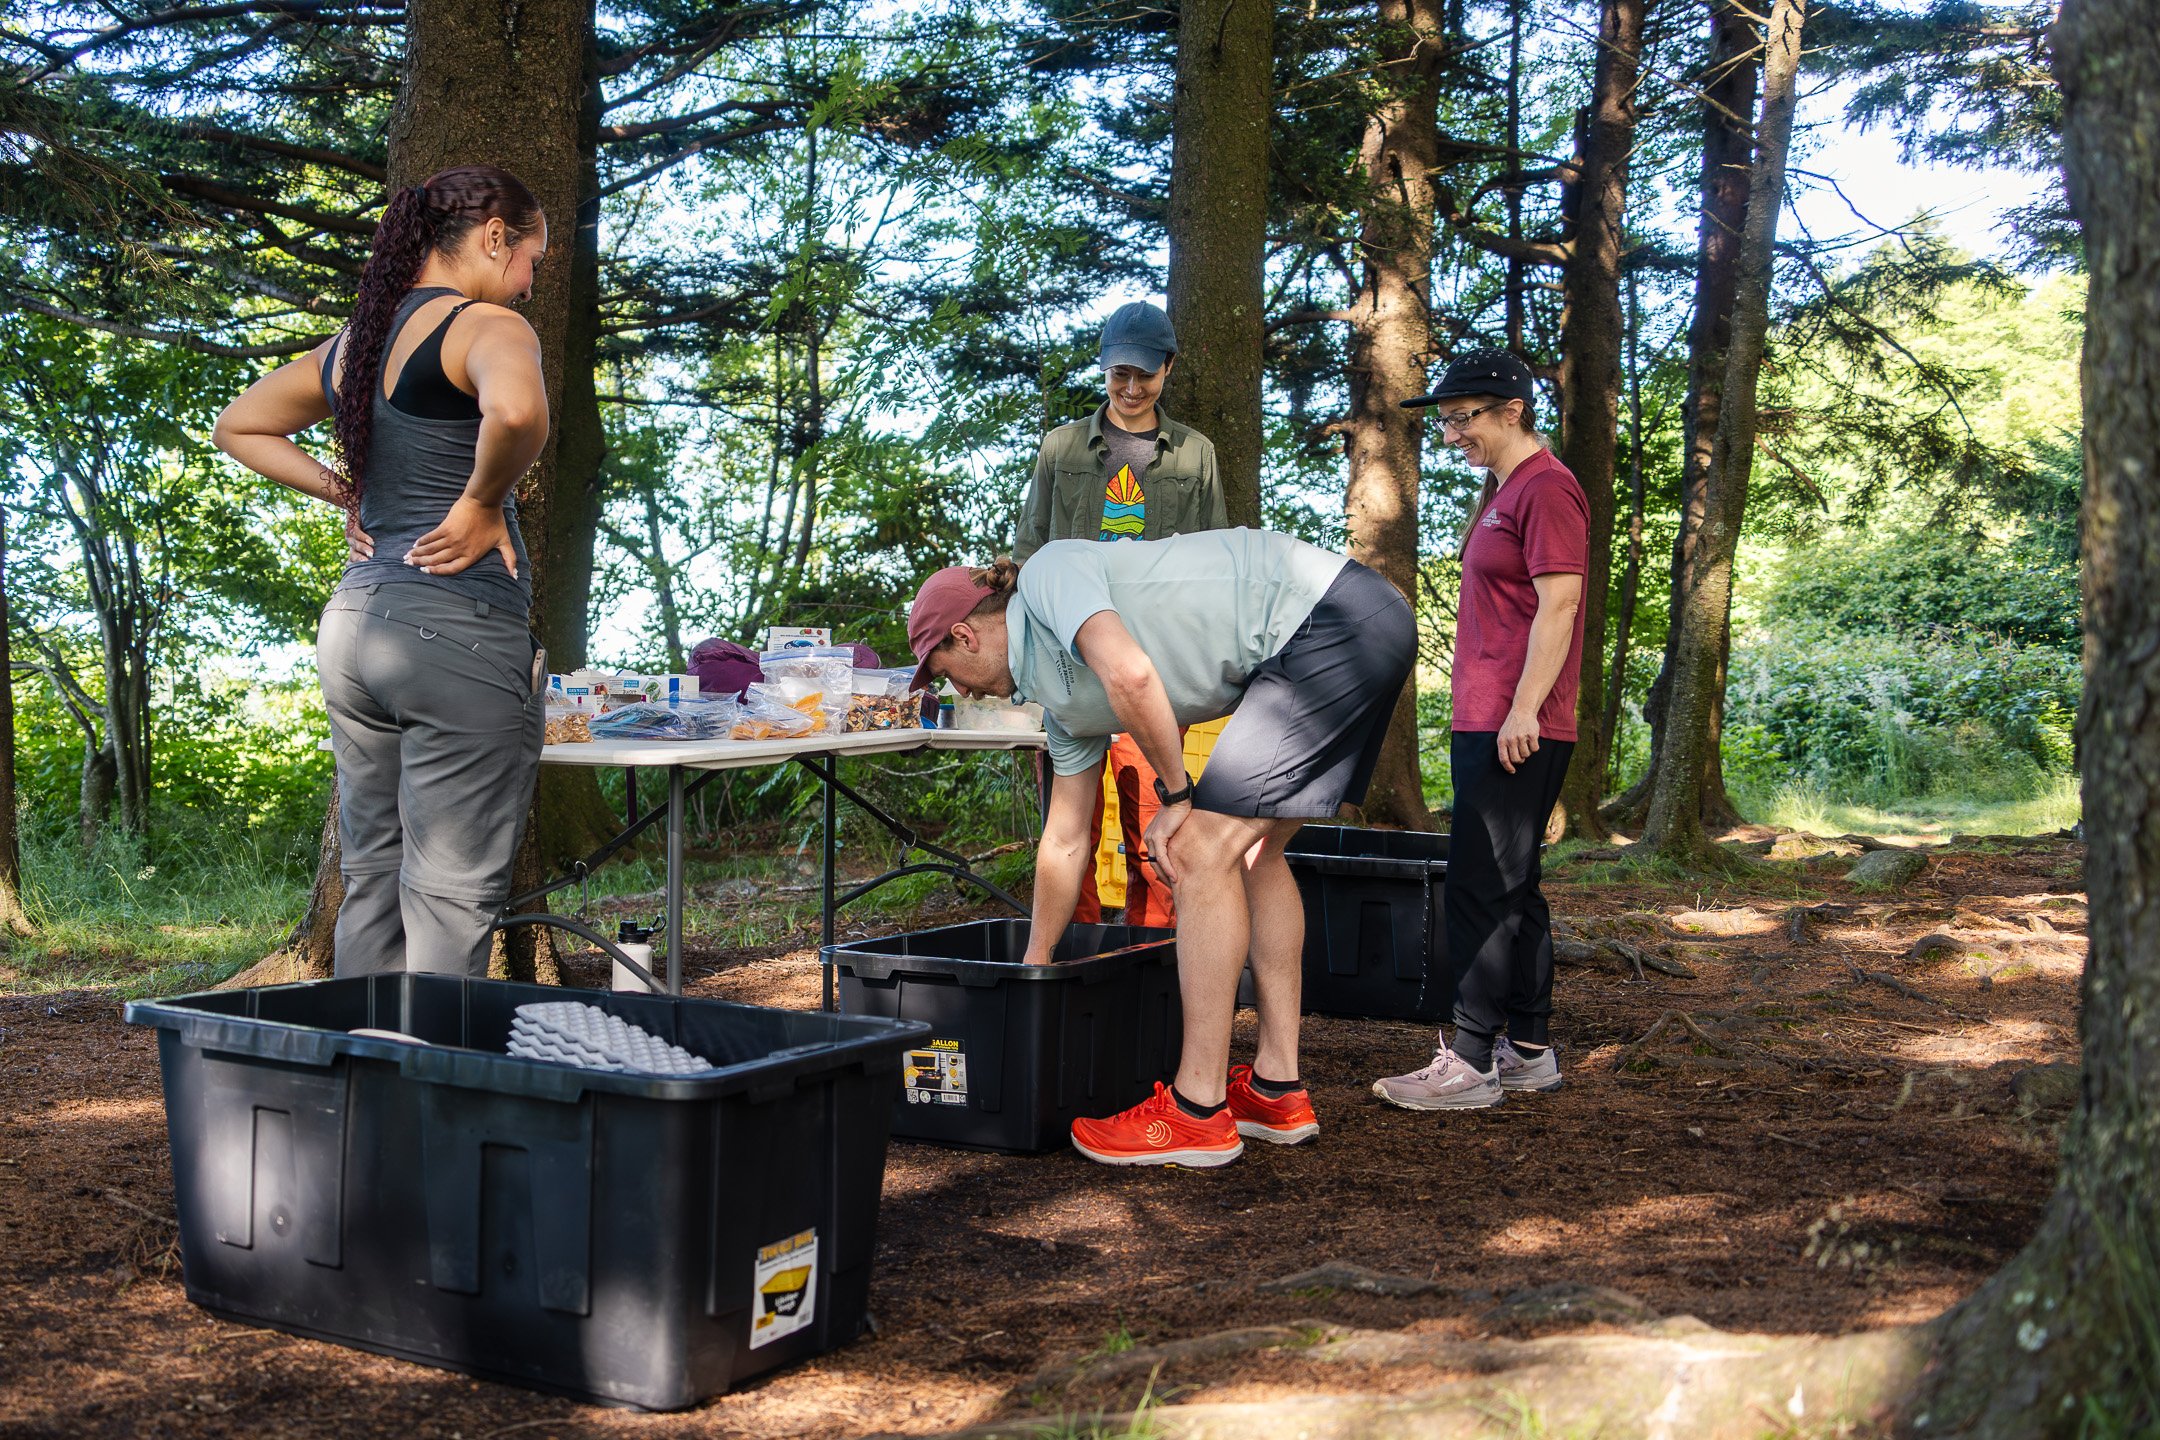
On our guided trips, we provide bear canisters. In some areas of Western NC, like Shining Rock Wilderness, and north of the Blue Ridge Parkway in the Pisgah Ranger District (Graveyard Fields, Black Balsam Knob, Ham Knob), a hard-sided bear canister is required.
Outside those areas, a PCT-style bear hang works well. It's a specific rigging method that keeps your food bag up and out from the tree trunk, and it's effective against both bears and smaller critters. You'll need a length of cordage and a stuff sack.
One alternative to hard-sided canisters (though not in Shining Rock) is the URSAC, a Kevlar-woven soft-sided bear sack you tie to a tree. Worth knowing about, but check the regulations for wherever you're going before you rely on one.
Odor-proof bags inside your food storage help even more. Keep the smells down, keep the critters out of your site.
The terrain in Western North Carolina can be an incredible experience for people who've done the preparation. Two people with the same gear can have completely different experiences based on how they packed, where they pitched, and what they knew before they got out there. The gear matters. How you use it matters more.
If you want to keep reading about gear, conditions, and what to expect out here, check out our other blog posts. And if you'd rather just show up and let someone who knows these trails handle the rest, take a look at our guided trips where we take care of the gear, the planning, and the navigation so you can focus on the experience.
About the Author
James Perkins is an outdoor guide and backcountry backpacker who spends much of his time exploring the national forests of North Carolina and East Tennessee. Through his work with Appalachian Outdoors Co, he regularly hikes, fishes, and navigates remote sections of Pisgah National Forest, Nantahala National Forest, and surrounding Appalachian wilderness areas.