
Backpacking Gear Guide for North Carolina Trails
If you’re new to backpacking—or just looking to refine your kit—figuring out what gear you actually need can be overwhelming. With so many options on the market and advice floating around online, it’s tough to know what’s essential versus what’s just extra weight. That’s why we created this Backpacking Gear Guide: a straightforward, trail-tested breakdown of the gear that matters most. Whether you’re planning a quick overnight in Pisgah or a multi-day trek through the Smokies, having the right equipment can make or break your trip. In this guide, we’ll walk through the core pieces of gear you need, how to choose them, and what our guides at Adventure Grown trust on trail. From backpacks and shelter to water filtration and layering systems, this is your go-to resource for building a NC backpacking kit that’s safe, efficient, and tailored to real-world conditions in Western North Carolina and beyond.

Foundational Gear: The Big 4
Backpack: Fit, Capacity, and Weight Considerations
Your backpack is the core of your setup—if it doesn’t fit right, everything else suffers. Start by getting fitted at a gear shop to find the correct torso length and hip belt size. Capacity matters: for most 3-season trips, a 50–65 liter pack works well. Ultralight hikers might go smaller, but beginners should leave some buffer room. Look for padded, adjustable straps, a supportive hip belt, and accessible external pockets for water, snacks, and layers. Aim to keep your pack weight—including food and water—under 30 pounds. Internal frame packs offer a good balance of support and structure without being overly bulky. Avoid overbuilt designs with unnecessary compartments or features you won’t use. Remember, your backpack should be the last thing you buy—choose it to fit the gear you’ve already selected, not the other way around.
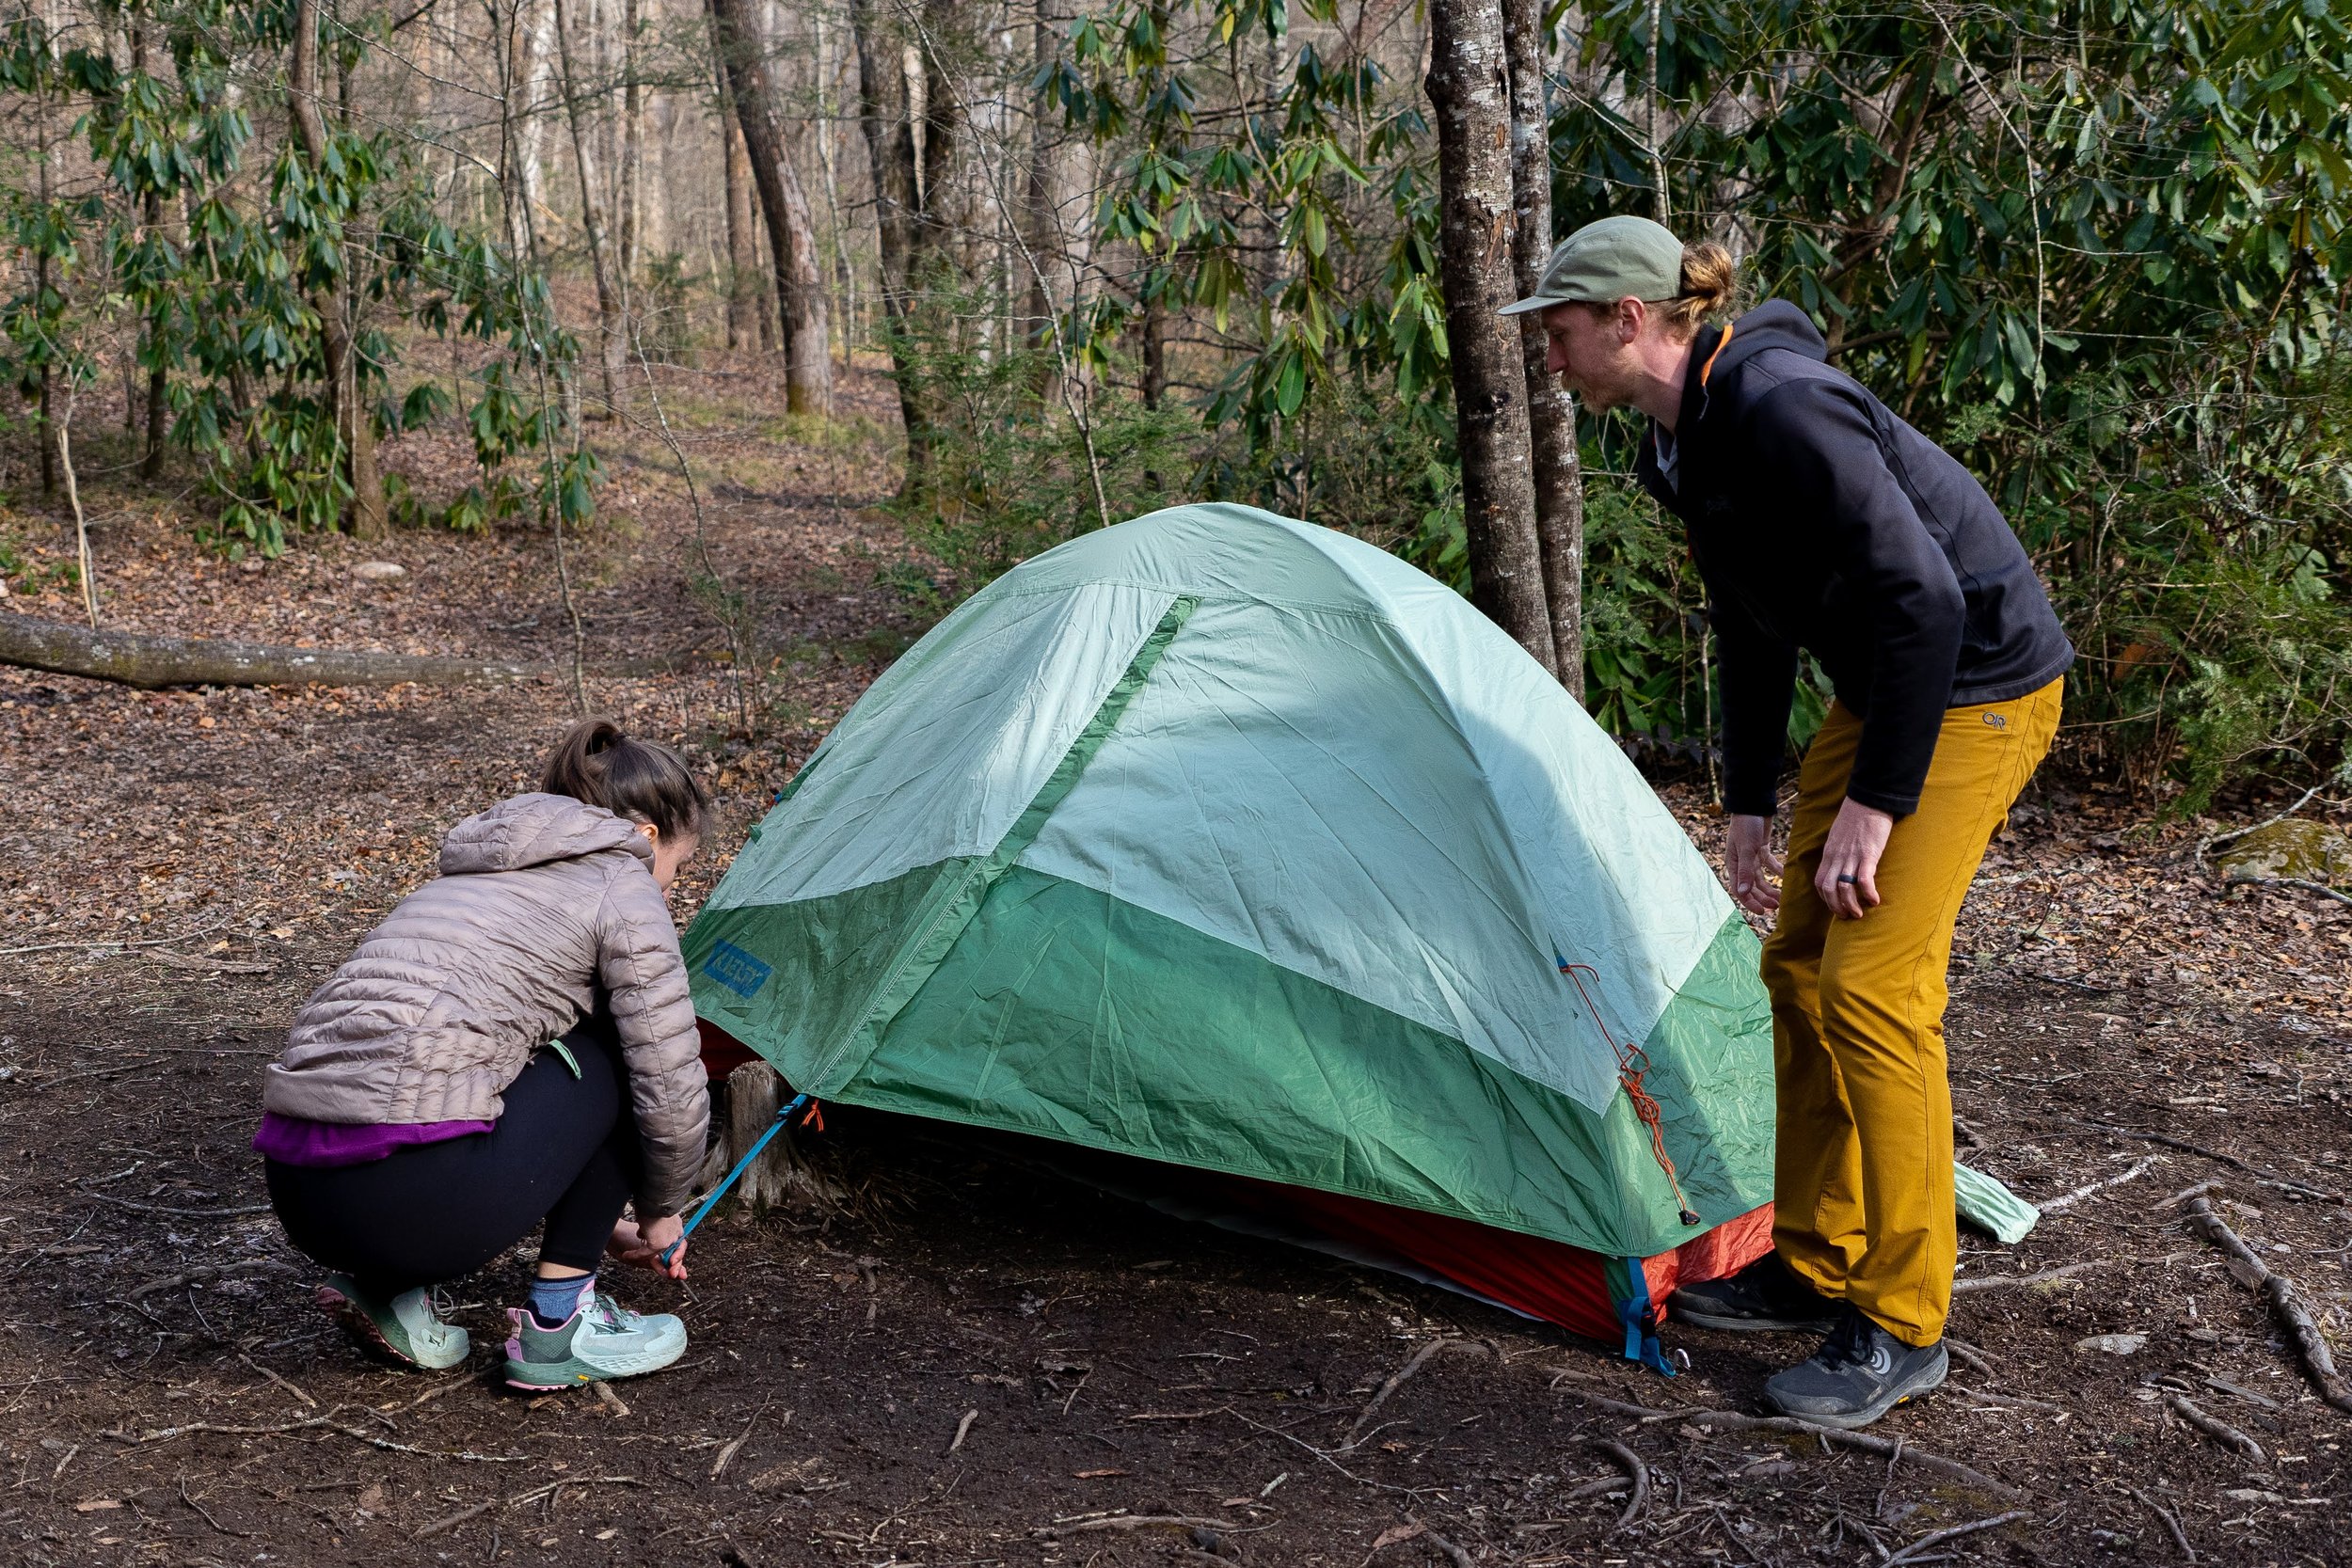
Shelter: Tent vs Tarp vs Hammock
Your shelter system protects you from weather, insects, and unexpected overnights. A freestanding tent is the most beginner-friendly and offers reliable protection, but it’s heavier. Tarp shelters are lightweight and flexible, but require more skill in setup and are best for fair weather or experienced hikers. Hammock systems can be great in forested areas like Western North Carolina, offering excellent airflow and avoiding uneven ground—but they require compatible trees and proper insulation underneath. Consider the season and expected weather when deciding. For three-season trips, a two-person tent shared between partners can be a weight-saving option. Look for shelters that pack down small, have adequate ventilation to reduce condensation, and are easy to pitch solo. Avoid bulky four-season tents unless you’re heading out in deep winter.
Sleep System: Sleeping Bag vs Quilt, and Sleeping Pads
A good night’s sleep on trail starts with your sleep system, which includes your sleeping bag or quilt and sleeping pad. Traditional mummy bags offer warmth and familiarity, but backpacking quilts have gained popularity for being lighter and more versatile. Choose based on your comfort level and expected overnight temperatures—down bags are warmer and compress better, while synthetic options handle moisture better. Match your bag or quilt to the coldest temps you expect to encounter, not the warmest. Equally important is your sleeping pad; it provides both comfort and insulation from the ground. Check the R-value rating to make sure it aligns with your trip season (R 3–4 is ideal for 3-season use). Inflatable pads are more comfortable but can puncture, while closed-cell foam pads are nearly indestructible and budget-friendly. Many experienced hikers combine both for warmth and backup.
Footwear: Trail Runners vs Boots (and How to Choose)
Footwear is one of the most personal gear choices, and it can make or break your trip. While traditional hiking boots offer ankle support and durability, many experienced backpackers now prefer trail runners for their lighter weight and comfort over long miles. Trail runners dry faster, breathe better, and reduce fatigue, but they have less protection and wear out more quickly. Boots shine in rocky, wet, or uneven terrain and when carrying heavy loads. The best choice depends on your experience, foot shape, and trip conditions. Prioritize a proper fit with room in the toe box, especially after your feet swell during hiking. Break in your shoes before a multi-day trip, and always bring blister care as part of your first aid kit. Don’t forget about socks—wool or synthetic options that wick moisture are essential for comfort and foot health.
Clothing Systems
The Layering Strategy Explained
Layering helps you adapt to changing temps and conditions while minimizing pack weight. The system includes base layers for moisture control, insulation for warmth, and shells for weather protection. Avoid cotton—it holds moisture and dries slowly. Stick to synthetics or merino wool for performance and versatility. In places like the Southern Appalachians, where you can see sun, rain, and cold in one day, layering ensures comfort without overpacking.
Base Layers: Materials that Wick and Breathe
Base layers manage sweat and regulate body temperature. Merino wool offers odor control, while synthetics dry faster and last longer. A short- or long-sleeve shirt is useful depending on sun or bug exposure. For bottoms, consider lightweight leggings in spring/fall. One set is often enough; some bring a second for sleeping. Choose a snug fit that won’t bunch under other layers.
Insulation: Puffy Jackets, Fleece, and When to Use Them
An insulating layer is essential for cool evenings and mornings. A lightweight puffy—down or synthetic—provides core warmth. Down compresses well but loses warmth when wet; synthetics work better in damp conditions. Fleece is breathable and great for active use. Some hikers bring both and use fleece while moving, saving the puffy for camp.
Rain Gear: Staying Dry Without Overheating
Rain gear protects you from wet weather and wind. Look for a breathable, waterproof jacket with pit zips or vents. Rain pants are optional in summer but useful in cooler or brushy conditions. Ponchos offer airflow but don’t perform well in wind. Keep rain gear near the top of your pack for quick access during sudden downpours.
Socks & Underwear: Blister Prevention and Hygiene
Foot care is critical. Wear wool or synthetic socks and consider a liner system to reduce friction. Bring at least two pairs and rotate them daily. For underwear, choose moisture-wicking, quick-drying fabrics like nylon or merino. Two pairs are usually sufficient. Basic hygiene like airing out feet and wiping down with a camp towel improves both comfort and morale.
Cold Weather Considerations for Spring & Fall Trips
Spring and fall bring variable temps. Pack gloves, a hat, and a warmer midlayer. A 20–30°F-rated sleep system and a higher R-value pad add security. Dry camp layers are a must—thermal top and bottom that never leave your tent. Plan for colder temps than forecasted, especially in the mountains. A thicker puffy or insulated overlayer can be worth the weight in late fall.
Cooking & Hydration Systems
Stoves: Canister, Alcohol, or No-Cook Setups
A stove lets you boil water and prepare hot meals, but not all setups are equal. Canister stoves (like the MSR PocketRocket) are compact and easy to use. Alcohol stoves are lighter but slower and more affected by wind. Some hikers go no-cook in summer, using cold-soaked meals or ready-to-eat food. For most, a basic canister stove offers the best mix of reliability and ease. Test your stove at home, bring backup fire sources, and keep fuel safely stored. Avoid overly complex systems—they add weight and more things that can fail.
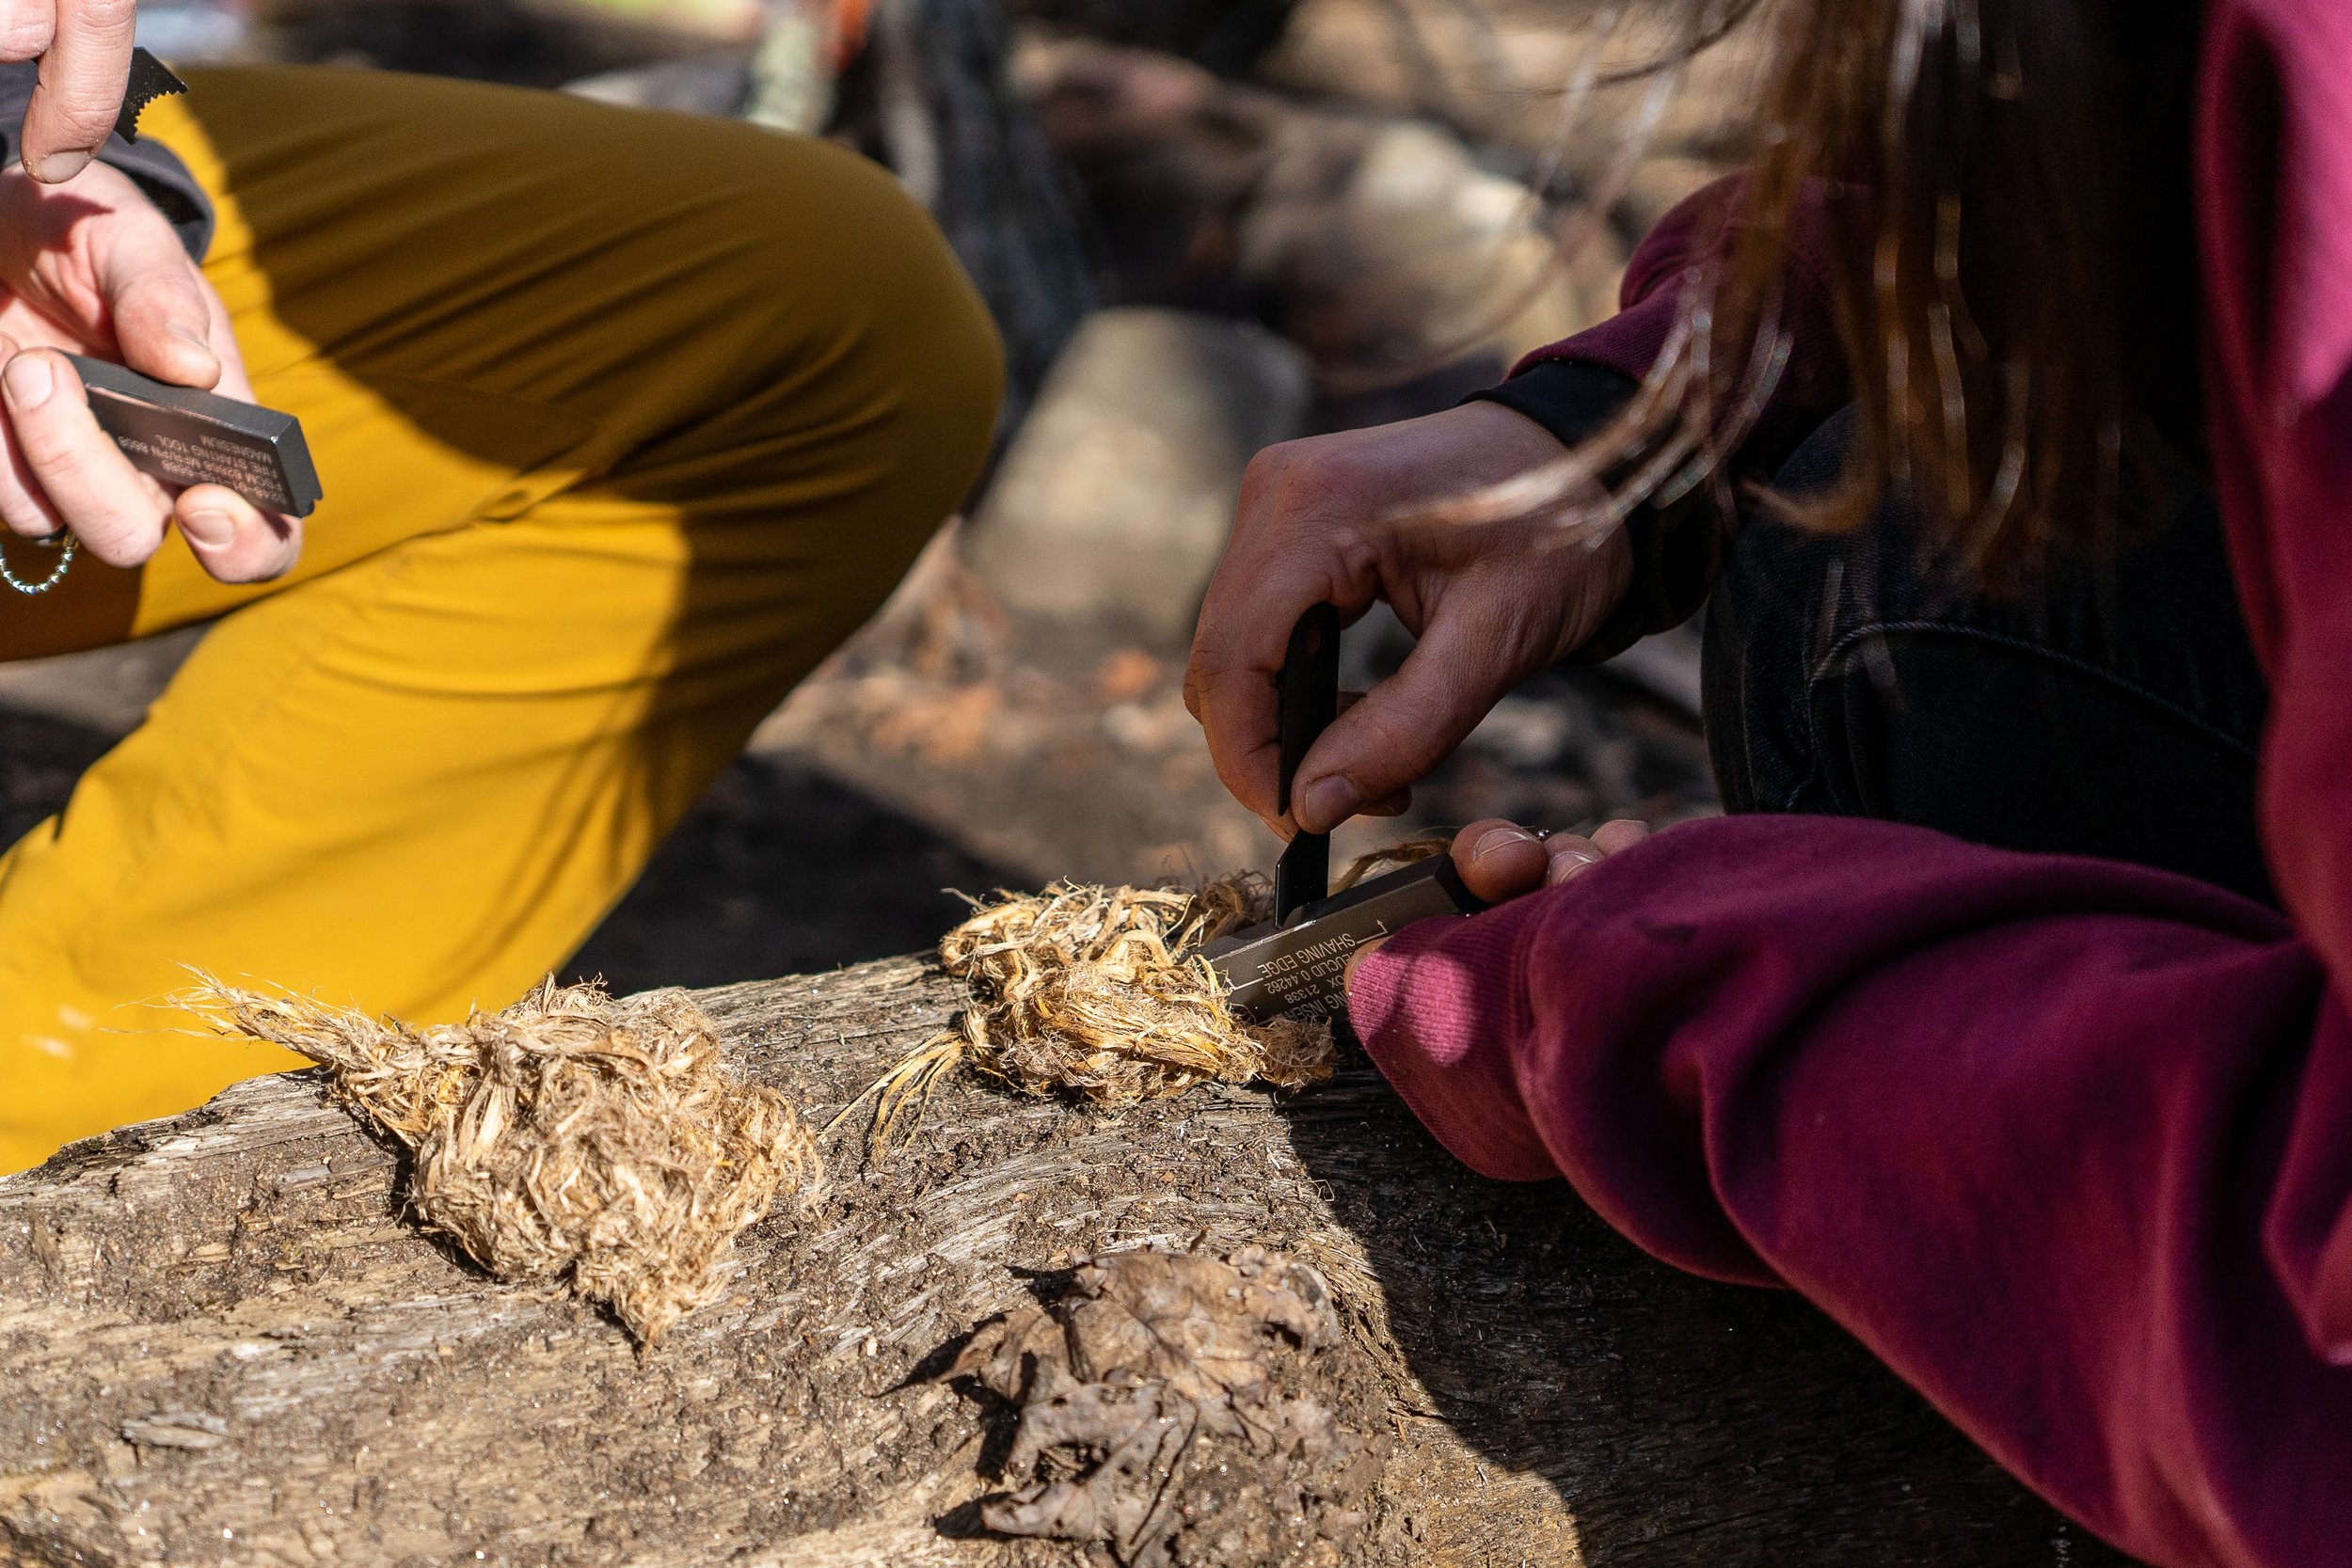
Fuel, Lighters, and Wind Protection
Always carry at least two ways to start a fire: a lighter and waterproof matches or a ferro rod. Canisters are user-friendly; alcohol needs care and measuring. In windy conditions, efficiency drops fast—bring a windscreen or use natural barriers. Know your fuel's limits and don’t cook inside your tent—it’s a fire and carbon monoxide risk. Practice lighting your stove in less-than-ideal conditions before you go.
Cookware Essentials (Don’t Bring a Kitchen)
You only need one pot, a utensil, and possibly a mug. Titanium and aluminum are lightweight and durable. A 750–900 ml pot is perfect for solo hikers. Long-handled spoons or sporks work best, and a small knife or multitool covers basic prep. Skip extras like pans or cutting boards unless you're in a group. Clean up with a scraper or cloth and follow Leave No Trace. Cold soaking? A screw-top container does the job.
Water Filtration: Sawyer vs Katadyn vs UV
For most hikes, a water filter is essential. The Sawyer Squeeze is reliable and field-maintainable. Katadyn BeFree is faster but wears out sooner. UV purifiers like the SteriPen are good backups but need batteries and don’t remove sediment. Chemical treatments like Aquamira are ultralight backups. Always test your filter and clearly mark clean vs dirty containers to avoid contamination.
Water Storage: Bottles, Bladders, and Smart Layout
Smart water bottles pair well with filters and fit side pockets. Hydration bladders are good for sipping on the move but harder to monitor. Many hikers use both. Carry 2–3 liters depending on water availability. Plan your refills, and clean all containers between trips. Keep one bottle accessible for breaks or meals, and use a separate one for electrolyte mixes if needed.
Food Storage: Bear Bags, Canisters & PCT Hang How-To
Protect your food from wildlife by storing it properly. In bear-heavy areas like Pisgah, use a canister or hang your food using the PCT method. Canisters like BearVaults are required in some parks. Always hang food at least 12 ft up and 6 ft from a tree trunk. Include toothpaste, trash, and scented items. Use odor-proof bags when possible and practice your hang before heading out to avoid frustration or attracting animals near camp.
Navigation & Safety
Maps vs GPS vs Apps: What We Recommend
Navigation is essential, even on marked trails. GPS apps like Gaia or FarOut are great for planning and tracking but shouldn’t be your only tool. Phones can fail—carry a printed topographic map of your route and learn how to read it. A GPS unit like the Garmin eTrex adds redundancy, but a phone with offline maps plus a paper map offers a solid balance. Always share your trip plan with someone before heading out.
Compass Basics: How to Not Get Lost
A compass is a lightweight, critical backup when visibility drops or trails vanish. Learn how to orient a map and take bearings. In North Carolina’s dense woods, even experienced hikers can lose track. Suunto and Silva models are reliable. Practice before you need it—combine with terrain awareness to avoid getting off route.
Emergency Beacons & Satellite Communicators
Devices like the Garmin inReach Mini or SPOT messengers provide SOS and tracking via satellite. Cell service is unreliable in many backcountry areas, making these essential for solo or remote trips. Carry them where they’re easy to reach and fully charged. Even with one, you should still bring basic navigation tools and first aid.
First Aid Kits: What to Pack (and What Not To)
Build a small, useful kit tailored to likely issues: blisters, cuts, strains, and stomach issues. Include meds, tape, gauze, antiseptic, tweezers, and a few extras. Don’t overpack or include gear you can’t use. Waterproof the kit and review it before every trip. A basic first aid course is a smart investment for preparedness.
Headlamps & Lighting Systems
A reliable headlamp is non-negotiable. Choose one with at least 200 lumens and a red light mode. Rechargeable models work well, but bring spare batteries or a power bank. Keep it accessible and check the charge before heading out. Phone flashlights are not a substitute—they drain power and limit your flexibility after dark.
Hygiene, Health & Leave No Trace
Bathroom Kit: Trowel, TP, and Waste Management
In the backcountry, solid waste should be buried in a 6–8 inch “cat hole” at least 200 feet from water, trails, and camps. A small trowel makes digging easier. Pack toilet paper in a zip bag and always pack it out—don’t bury or burn it. Baby wipes are convenient but must also be packed out. In high-use or sensitive areas, consider a wag bag or pack-out system if required. Always carry hand sanitizer and use it after bathroom breaks.
Trail Hygiene: Hands, Feet, and Faces
Basic hygiene prevents rashes, infections, and discomfort. Prioritize clean hands, feet, and your face. Use unscented, biodegradable soap sparingly—200 feet from water sources. A small towel works for sponge baths. Change socks daily if possible, rinse base layers when needed, and sanitize hands before eating. Clip toenails before trips to prevent issues. You won’t feel fresh, but consistent habits go a long way.
Bug Protection: Spray, Head Nets, and Clothing
Mosquitoes, ticks, and gnats are common on Southeastern trails. Use repellent with DEET or picaridin, and consider permethrin-treated clothing. A head net is helpful in buggy areas. Long sleeves reduce skin exposure and bite risk. Wear light-colored clothes to spot ticks easily, and check your body daily. Tweezers and antihistamines are useful if bites or ticks occur.
Leave No Trace Gear & Practices (Backcountry Ethics)
Leave No Trace (LNT) helps protect the land for others. Pack a trowel, trash bags, and odor-resistant food bags. Stay on trails, don’t damage plants or trees, and avoid building structures. Use stoves over fires when possible, and follow fire rules if building one. Observe wildlife from a distance and store food properly. Respect others’ experiences by keeping noise down. LNT is about intentional impact reduction, not perfection.
Organizational Systems
Dry Bags, Stuff Sacks, and Compression Systems
Good organization helps protect gear, speed up camp setup, and reduce frustration. Dry bags keep essentials like clothes and electronics safe from moisture. Use different colors or labels for quick access. Stuff sacks group gear by function—clothing, hygiene, food—while compression sacks reduce volume for bulky items like sleeping bags. Avoid over-compressing gear you need frequently. Zip-top bags are handy for trash or small items. A simple system—one bag per category—keeps everything organized and makes repacking faster at camp.
Pack Organization: Where Everything Goes
Pack heavy gear close to your back and mid-pack—this improves balance and reduces fatigue. Light or rarely used items (like your sleeping bag) go at the bottom. Food and shelter fill the middle, and frequently used items (rain jacket, filter, snacks) go in outside pockets or the top lid. Hip belt pockets are perfect for quick-access items like sunscreen or lip balm. Consistent packing saves time and prevents gear from shifting during movement.
Weight Distribution Tips (to Save Your Back)
Aim to carry no more than 20–25% of your body weight. Heavier items should be packed near your spine and between your shoulders for stability. Soft, compressible items go at the bottom. Avoid hanging gear externally—it throws off your balance. Proper strap adjustment ensures most weight rests on your hips, not shoulders. Check your fit regularly and adjust if soreness or hotspots develop during the hike.
Seasonal Adjustments
Summer Backpacking Essentials
Summer means lighter gear but also heat, bugs, and storms. Wear breathable, moisture-wicking clothes, and protect yourself with a hat, sunglasses, and sunscreen. Hydrate often and carry 2–3 liters of water, plus electrolytes. Use a lightweight quilt (50–60°F) and a breathable shelter with mesh. Foam pads work well in warm conditions. Bug protection is key—bring repellent and a head net. Afternoon storms are common, so keep rain gear accessible and pitch tents away from runoff zones.
Shoulder Season Packing (Spring/Fall)
Spring and fall offer cool temps and fewer bugs, but also unpredictable weather. Bring a warm jacket, gloves, and hat. A 20–30°F sleep system is usually adequate. Waterproof layers and quick-drying footwear help with rain. Use a higher R-value pad and keep sleep clothes dry. Nights are longer—bring extra batteries. Be ready for cold mornings and pack systems that handle fast-changing conditions.
Winter Backpacking: What’s Different and What’s Critical
Winter trips require more insulation and caution. Use a 0–20°F sleeping bag and a high R-value pad (or double up). Wear layered clothing and carry a warm jacket, pants, and shelter with wind protection. Eat high-calorie foods and prevent water from freezing. Keep electronics warm and dry. Snow adds risk—avoid avalanche terrain and start with shorter, safer trips if you're new to winter backpacking.
Budgeting & Gear Recommendations
Buy vs Rent vs Borrow: A Practical Approach
You don’t need to buy a full gear setup right away. Renting or borrowing is ideal for beginners—especially for expensive items like tents, packs, or sleeping bags. Local outfitters often rent reliable gear, letting you try before you buy. Borrowing from friends is another solid option for cook kits or trekking poles. Buy gear once you know what works, starting with items that need to fit well, like shoes and backpacks. For occasional cold-weather trips, renting specialty gear can save money. Focus on learning what you actually need—most new hikers overpack or overspend at first.
Best Value Gear for Beginners
Great gear doesn’t have to be expensive. Brands like REI Co-op, Decathlon, and used gear sites like GearTrade offer solid value. Don’t waste money on flashy extras—instead, prioritize sleep systems, footwear, and shelter. Base layers and fleece from budget stores can work fine for weekend trips. Avoid poorly reviewed or overly heavy gear. A good-fitting $100 backpack beats a high-end model that doesn’t suit your body. Take time to research and build your kit with intent, not urgency.
Trusted Brands Our Guides Use (With Honesty)
Our guides use a mix of high-end and affordable gear. We trust Osprey and ULA for packs, MSR for stoves, and Sawyer for filtration. For insulation and rainwear, we like Patagonia, Enlightened Equipment, and Outdoor Research. That said, price isn’t everything. What matters is fit, durability, and real-world performance. Read reviews, try gear when you can, and build your setup piece by piece to match your specific needs.
Beginner Backpacking Mistakes to Avoid
Overpacking and Bringing “Just in Case” Gear
One of the most common pitfalls for new backpackers is carrying too much. It’s tempting to pack gear “just in case,” but every ounce adds up. Too much gear leads to shoulder fatigue, back pain, and disorganized packing. Stick to the essentials, and remember: you’re not packing for every scenario—you’re preparing for the most likely ones.
Ignoring Weather and Terrain
Failing to check the forecast or underestimating terrain changes can lead to trouble fast. Mountain weather shifts quickly, and even well-maintained trails can become hazardous in storms. Always check elevation profiles and bring layers appropriate for temperature swings. Pack rain gear and test it before you need it.
Wearing the Wrong Footwear
Ill-fitting or inappropriate footwear leads to blisters, fatigue, and rolled ankles. Avoid brand-new boots on a big hike and don’t rely on casual sneakers for rugged trails. Use trail-tested shoes that match your foot type, pack weight, and trail conditions.
Not Testing Gear Before the Trip
The first time you use your gear should not be on trail. Set up your tent, use your stove, and try sleeping in your bag at home or in your backyard. Doing so builds confidence, identifies any issues, and makes your trip smoother from the start.
Packing Checklist & Trail-Tested Tips
Printable 3-Season Gear Checklist
A reliable gear checklist helps you stay organized and avoid forgotten essentials. For 3-season trips, cover six key categories: shelter, sleep system, clothing, kitchen, water, and safety. Core items include a tent or tarp, quilt or sleeping bag, sleeping pad, layered clothing, stove and pot, water filter, food storage, map, compass, and first aid kit. Don’t forget personal items like toiletries, sunscreen, and headlamp. Adjust based on trip length and weather. Print a copy or keep a digital version for easy reference. Revisit your checklist after each trip and refine it based on what you actually used.
Pro Tips from Adventure Grown Guides
Pack your gear the same way every trip so you always know where things are. Keep rain gear, snacks, and essentials easily accessible. Sleep clothes go in a dry bag and should stay dry all trip. Pre-pack snacks to avoid digging around midday. Use airplane mode to conserve phone battery and bring a small power bank for longer outings. Mark your gear to avoid confusion on group trips. The best prep is practice—test your full setup before every trip.
Final Gear Shake-Down Before Hitting the Trail
Before heading out, lay out all your gear and ask: Do I need it? Did I use it last trip? Is it in working order? Check your stove, water filter, batteries, and first aid. Weigh your loaded pack—aim for 20–25% of your body weight. Shakedowns help catch small issues before they become trail problems. It’s a habit even seasoned hikers never skip.
FAQs About Backpacking Gear
How much should my backpack weigh?
A well-packed backpack should ideally weigh no more than 20–25% of your body weight. For example, if you weigh 160 pounds, your total pack weight (including food and water) should stay under 40 pounds—preferably closer to 30. For many hikers, a 25–30 lb. pack is a realistic target for a 3-season overnight or weekend trip. Start by trimming unnecessary items and focusing on multipurpose gear. Lightweight tents, quilts, and cook systems can dramatically reduce your load. Don’t fixate on ultralight numbers if you’re just starting—focus on a comfortable, balanced system. A lighter pack leads to less fatigue, fewer injuries, and a more enjoyable trip.
Can I backpack without expensive gear?
Yes—many people hit the trail safely and comfortably without spending a fortune. Start with what you have and borrow or rent when possible. Prioritize essential gear first: a properly fitting pack, reliable shelter, sleep system, and footwear. Many budget items perform well with proper planning, especially clothing layers, cook kits, and day-use gear. Shop used, check local gear swaps, and follow seasonal sales from reputable brands. Over time, upgrade based on what you actually use and where better performance will make a real difference. Expensive gear doesn’t always equal better—it’s about how well it suits your specific needs.
What if the weather turns bad unexpectedly?
Always plan for the worst reasonable weather, not just the forecast. Pack a rain jacket, warm insulating layer, dry sleep clothes, and a waterproof bag system to protect key gear. Carry a map and know your bailout options. A compact emergency bivy or space blanket adds peace of mind in case of a surprise overnight. Weather in the mountains can shift quickly, especially in spring and fall. Staying dry, warm, and sheltered is more important than pushing on. Turn around or wait out storms if needed—good judgment and preparation are your best tools when the forecast fails.
How do I deal with animals and bugs?
Avoid attracting animals by storing all scented items—food, trash, toothpaste—in a bear bag or canister, and never keep food in your tent. In bear country, hang your food 12 feet up and 6 feet from the nearest tree trunk or use a canister if required. Use odor-resistant bags when possible. For bugs, apply insect repellent (DEET or picaridin), treat clothing with permethrin, and bring a head net in buggy areas. Wear long sleeves and pants for additional protection. At camp, choose breezy, open areas away from standing water. Checking for ticks daily and practicing good hygiene also helps minimize unwanted encounters.
Ready to Hit the Trail? Let’s Make It Happen
Backpacking doesn’t have to be overwhelming. With the right gear, a little planning, and a solid understanding of what actually matters on the trail, you can head out with confidence. From dialing in your “Big 4” essentials to layering smart, packing efficiently, and staying safe in variable conditions, building a functional backpacking kit is all about practicality—not perfection. Whether you’re going solo or stepping out for the first time, having the right systems in place can turn a good trip into a great one. If you’re ready to apply what you’ve learned or want expert guidance on your next outing, we’ve got you covered. Book a guided backpacking trip with Adventure Grown Guides and gain hands-on experience in some of Western North Carolina’s most beautiful backcountry terrain. Let’s hit the trail—together.